We are supporting the low budget Epson ES-400 directly in Kronocard but you need to follow some little adjustment before using it. Here is all the information you will need.
Thanks to one of our user that found how to have the Epson ES-500 also work with Kronocard.
NOTE FOR EPSON ES-500
If you have the Epson ES-500 it's the same as the ES-400 with the wireless capability. Unfortunately Kronocard will not work with a wireless scanner. What you need to do to make Kronocard work with the ES-500 is to first connect it on the computer using an USB cable. Uninstall the ES-500 driver and continue this procedure as if it is a ES-400. YES! you need to install the ES-400 driver not the ES-500 that's the trick!
If you are looking for the best scanner to use with Kronocard the Fujitsu fi-7160 is the best scanner ever for high quantity of cards. Unfortunately, having the best scanner in it's class means paying an arm and a leg to get it. The Fujitsu is not cheap, you will get it in the range of $800 to $1,200. We strongly recommend that scanner if you are expecting to scan over 100,000 cards.
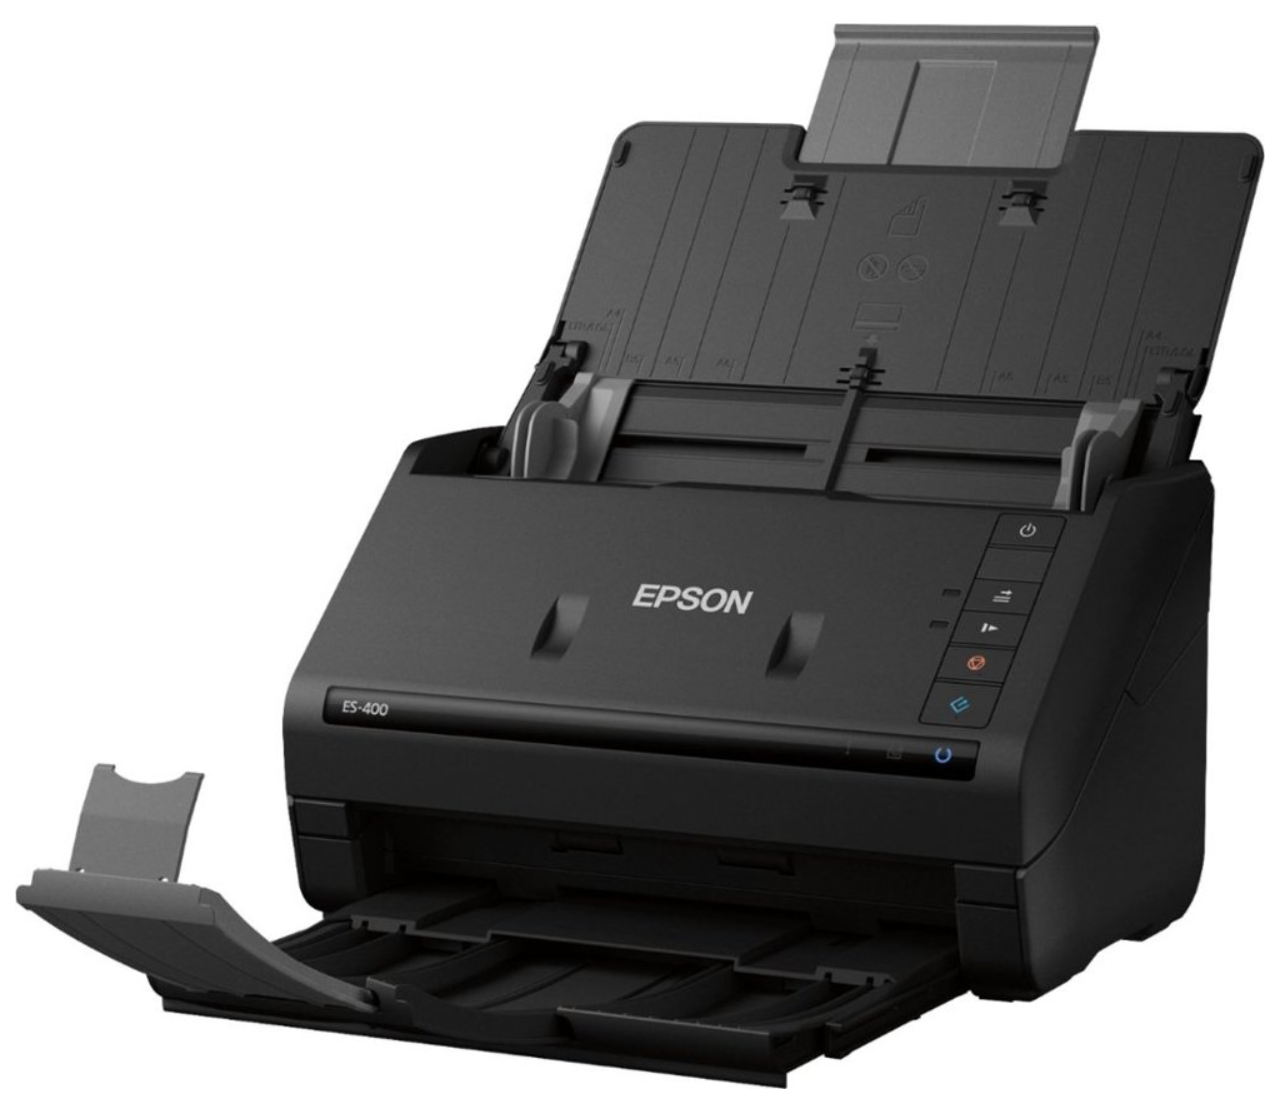
A very good alternative to the Fujitsu is the Epson ES-400. You can find it online between $249 and $349! We tested it and we know it's working great. As we repeat every week, if you are scanning high value cards we still recommend using a regular flatbed scanner. Some user reported that for some type of cards finish some auto-feeder scanners may leave marks on the surface. Test one card per series, inspect the result and see the result before doing thousand of them.
Here are some online links where you can get the Epson ES-400 at good price.
- Amazon.com (normally have the best price and shipping)
- Bestbuy.com
- Staples.com
Here is the official page on Epson site with all the details: Epson ES-400
Installing and configuring the Epson ES-400 to use it with Kronocard
The first thing to do is to download the correct driver to install on your Windows computer.
When the driver is downloaded, execute the installation.
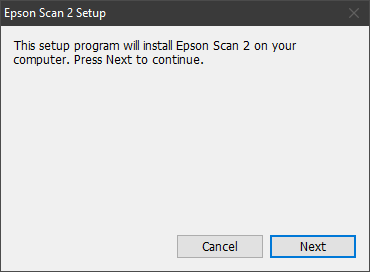
In the first screen of the installation click next.
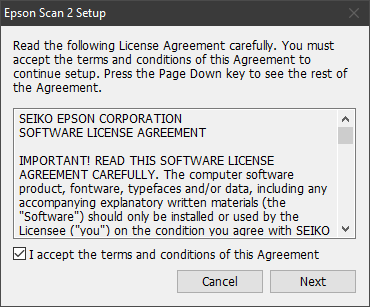
In the second screen put a check in the box and click Next.
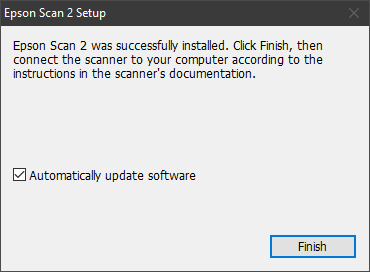
Last one, put a check in the Automatically update software and click finish.
Now your scanner driver is installed. You can plug the scanner ideally in a USB3 port, you know it's the one with a blue connector. Don't worry it will also work with a USB2.
In fact you can stop here and it's ready to be use in Kronocard BUT, is you start scanning right now all the cards will be cropped directly on the edge of the card. As we know, buyers like to see edges and corners so we need to extend the scanning area of the scanner to make this suitable for card collection.
First you will need to open the Epson Scan 2 software that you just installed with the driver. Click on your Windows key on the keyboard and normally at the top (Windows 10) you will see Recently added and in that list you must have Epson Scan 2. Pay attention to not open the Epson Scan 2 Utility this is not the same thing and you will not have the same option.
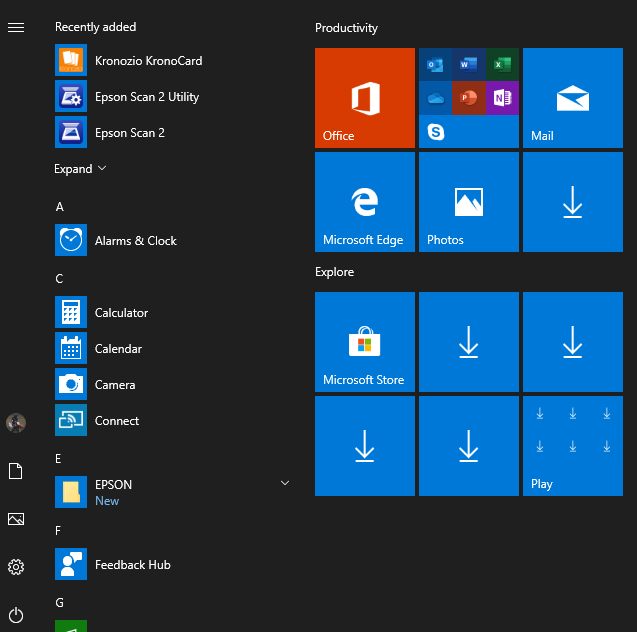
If you have open the right application you will see that interface here.
Now you are in the Main Settings tab. Take the time to match all the settings we have in that image with what you have in your interface.
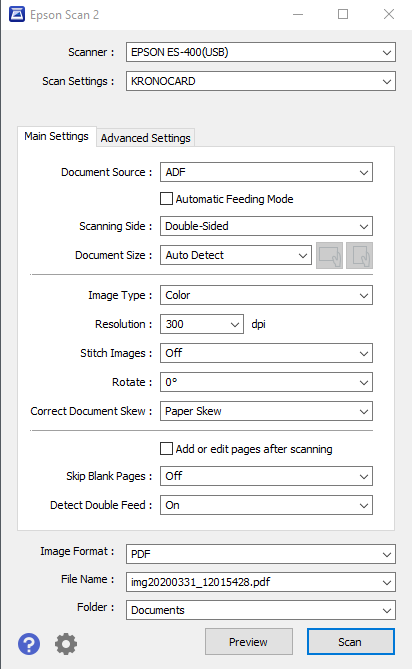
When this part is done, the most important setting that we need is when you click on Document Size list. When you click on that list select at the bottom Settings...

You will get a message box asking for Crop Margins. This is where we are controlling the extra space around the card. The best settings we have testes is 0.08in. This gives us a nice little extra grey space around the image to see the edges and corners but without too much extra. Having too much space around the card can produce some errors and strange behaviour.
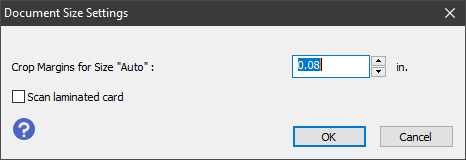
When done click OK.
In the main interface you can select the other tab named Advanced Settings. In that page again match what we have in the image and in your interface. In fact, the two changes in this one are, Unsharp Mask to give us more sharpness in the scan and Edge Fill to None is to prevent the scanner to add extra white space around images.

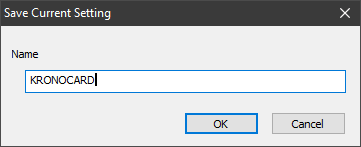
When you are done with the settings, at the top click the Not Selected in Scan Settings. This is the option to save our presets for Kronocard to use it. In that dropdown list click on Save current settings...
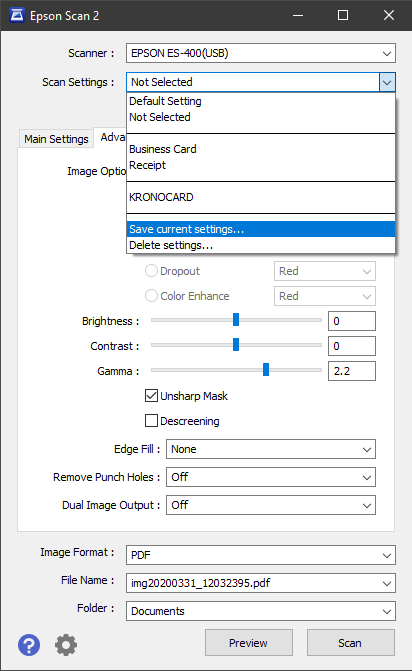
It will ask for a name for your preset, type KRONOCARD and click OK.
You are now done setting up the Epson ES-400 ready to be use in Kronocard. If you have question about this procedure or the scanner just send us an email at support.
Was this article helpful?
That’s Great!
Thank you for your feedback
Sorry! We couldn't be helpful
Thank you for your feedback
Feedback sent
We appreciate your effort and will try to fix the article