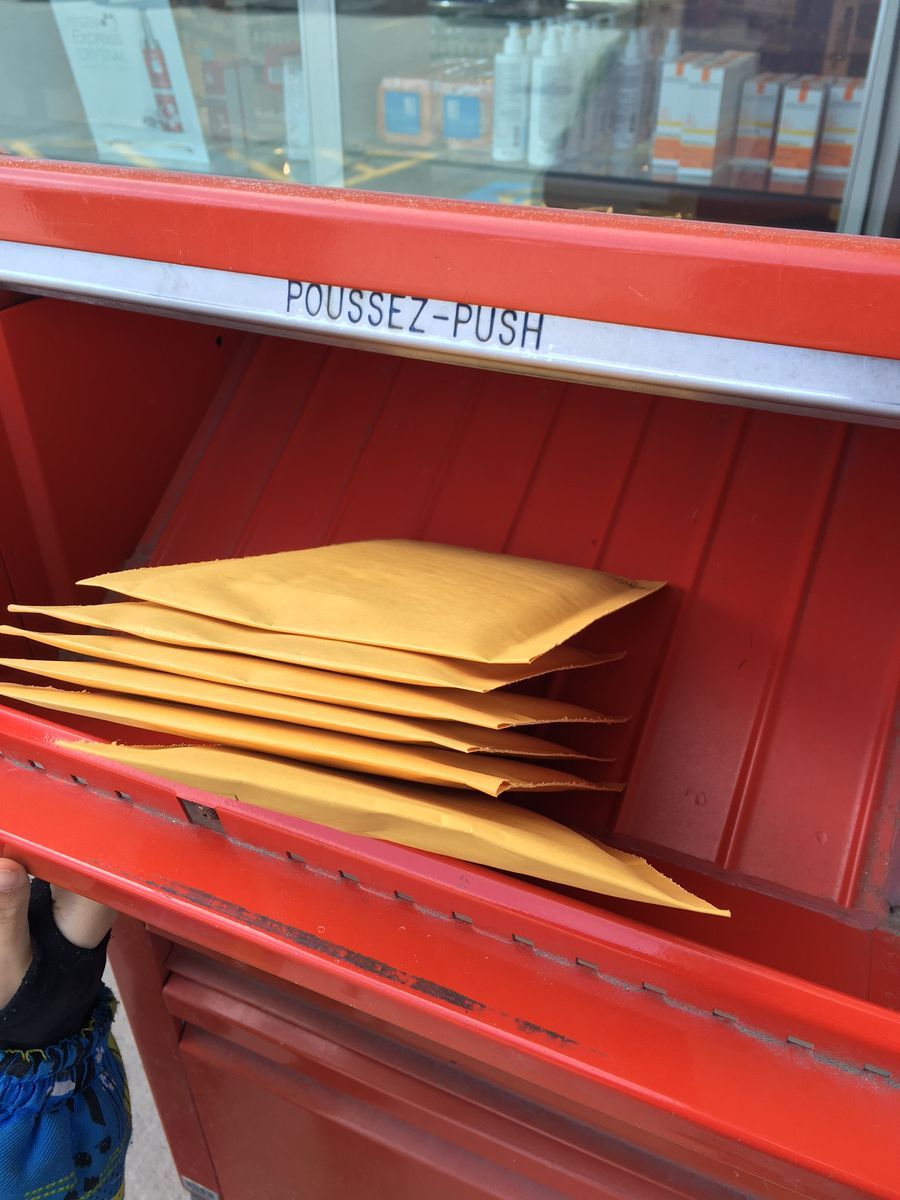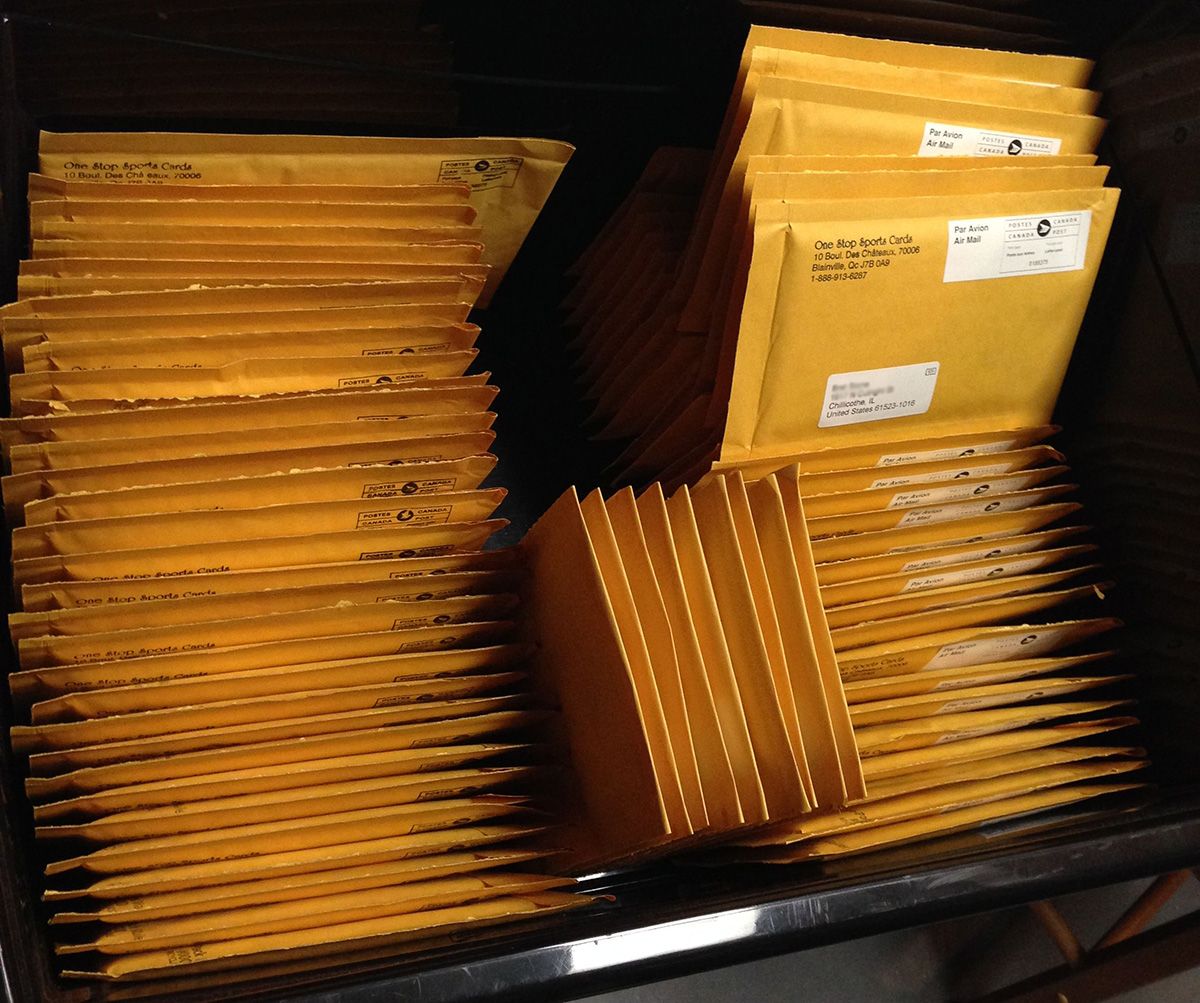
Yes we know that the price to ship from Canada hurt small businesses. When in 2014 we were shipping between 500 and 800 cards per week we tried everything to lower our shipping cost. Rules of thumb, for 100 cards you will normally ship in 80 envelopes. As you know, this is 80 stamps and 80 addresses to write on those envelopes. In the last 3 years, we met many collectors. One question that we asked every time was: How many cards are you able to ship per hour?
The answer was 50 cards per day... Hummm so how do you ship 800 cards in a single week like we have done. You have two choices: Stop sleeping and do it for days and nights or use our unique shipping system in Kronocard and ship 250-400 cards per day and still have time to sleep!
Let start to save money and time
I will try to explain everything in a clear and simple manner, if something is not clear enough don't be shy and send us an email at: support@kronozio.com
An important information about shipping with Canada Post: Shipping cards in toploader in an envelope is in fact against Canada Post rules. Since 2014, they told everyone that if it's not paper it's considered physical objects and that must be sent as a small parcel. The price for a small parcel is just ridiculous. In fact cardboard is in the gray zone and undefined so if we are on the gray line so when someone at Canada Post asks you what's inside the envelope just answer paper and cardboard. Do not mention toploader. Don't be afraid you will not be considered as a criminal if they found your plastic toploader in the envelope. They have done this because those kind of envelope are put on a conveyer belt that drive thru all kind of sensors, which doesn’t quite work well when an envelope contains objects. In our case this is pretty flat and has no problem going into the machine.
One rule not to forget is that you need the envelope to be at the thickest 20 mm. (See this table for size rules)
What will be covered with this post:
- Using Kronocard to ship
- Save a lot of time with a thermal printer for your address
- Applying for an e-commerce account at Canada Post
- Creating your own prepaid postal stamps
- Stickers vs self-inking stamps
- How to pay and ship with prepaid stamps
Using Kronocard to ship
There is no doubt, when you get familiar with Kronocard you will understand that the software has been built by collectors. It not only covers how to list your cards online but also efficiently how to ship your cards and save money.
First, you need to have cards to ship. Hopefully you already have sold some cards on Kronozio.com or on eBay using our eBay connector (information here).
When you do click on the little truck icon on the left like this.
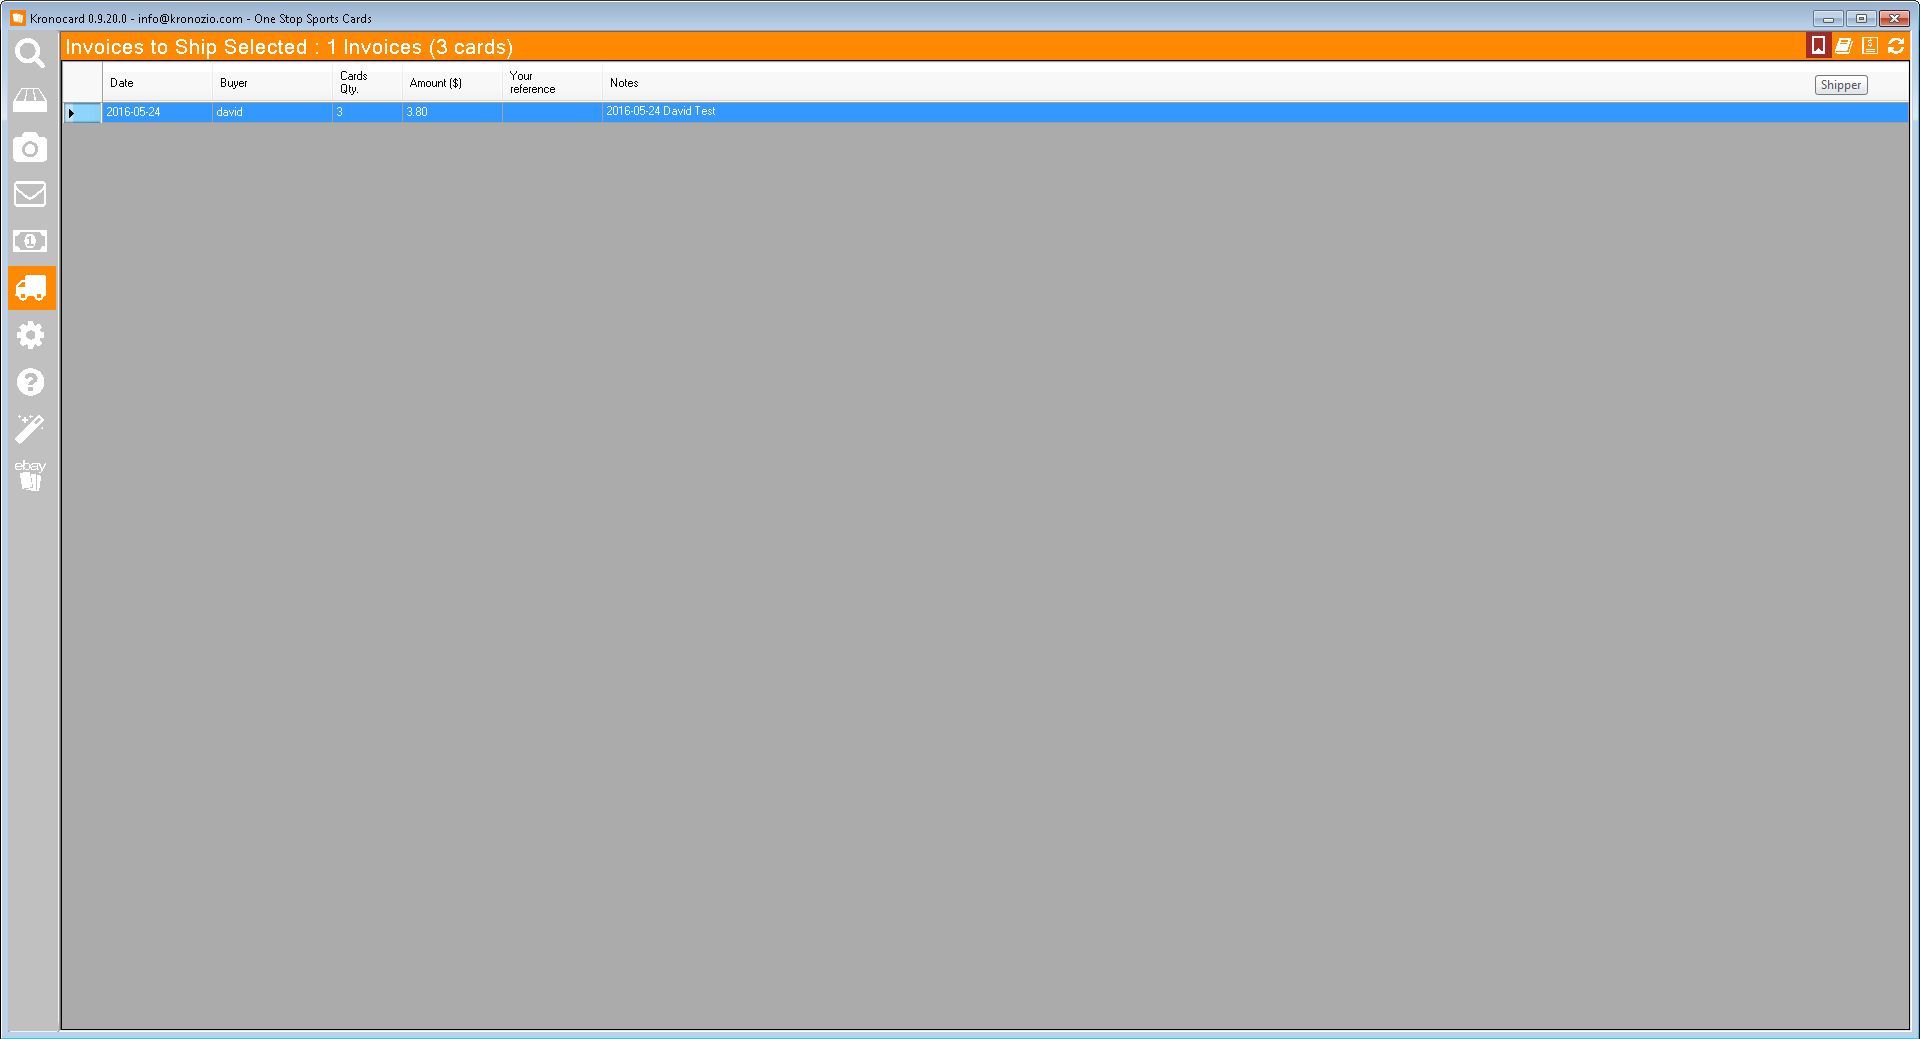
Select one or more invoices and click on the little shipping icon on the top right corner.

You will now be in the shipping section like this.
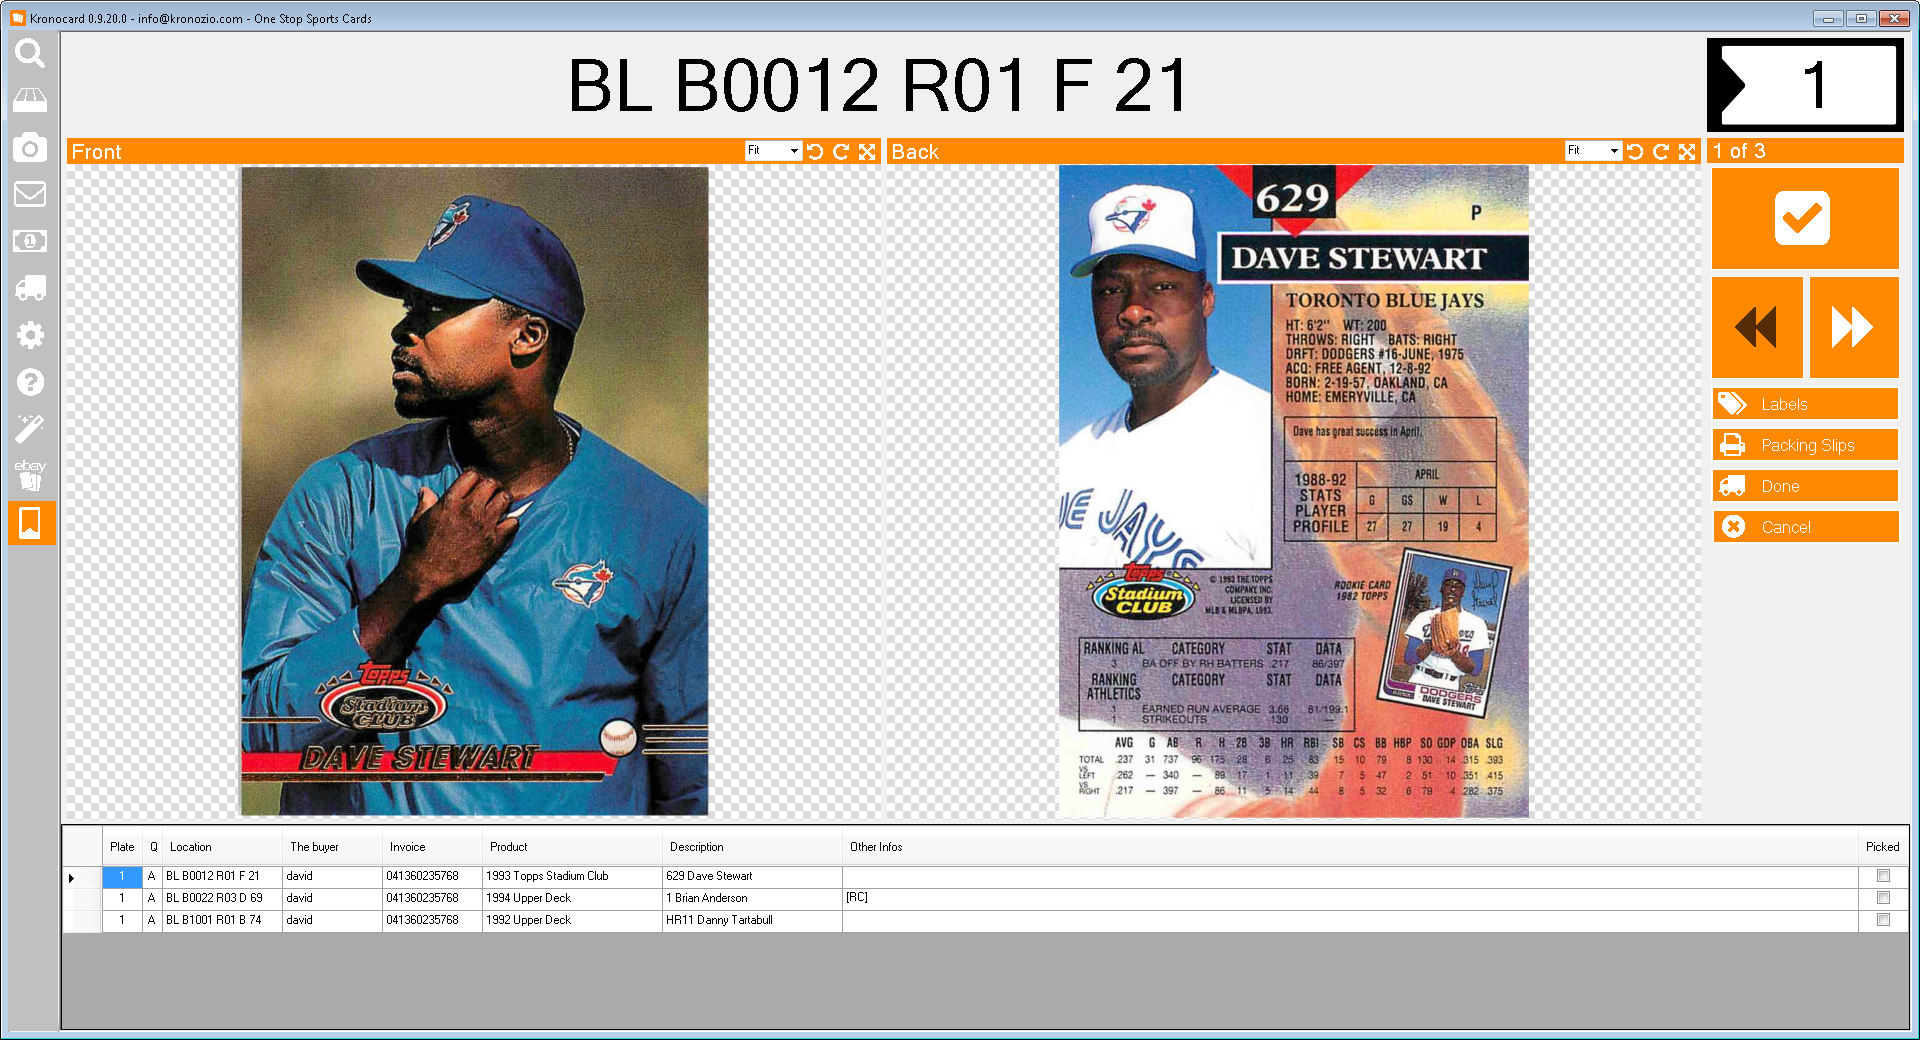
On the top of the page you have the position where you need to go get the card in your boxes. So go get the card.
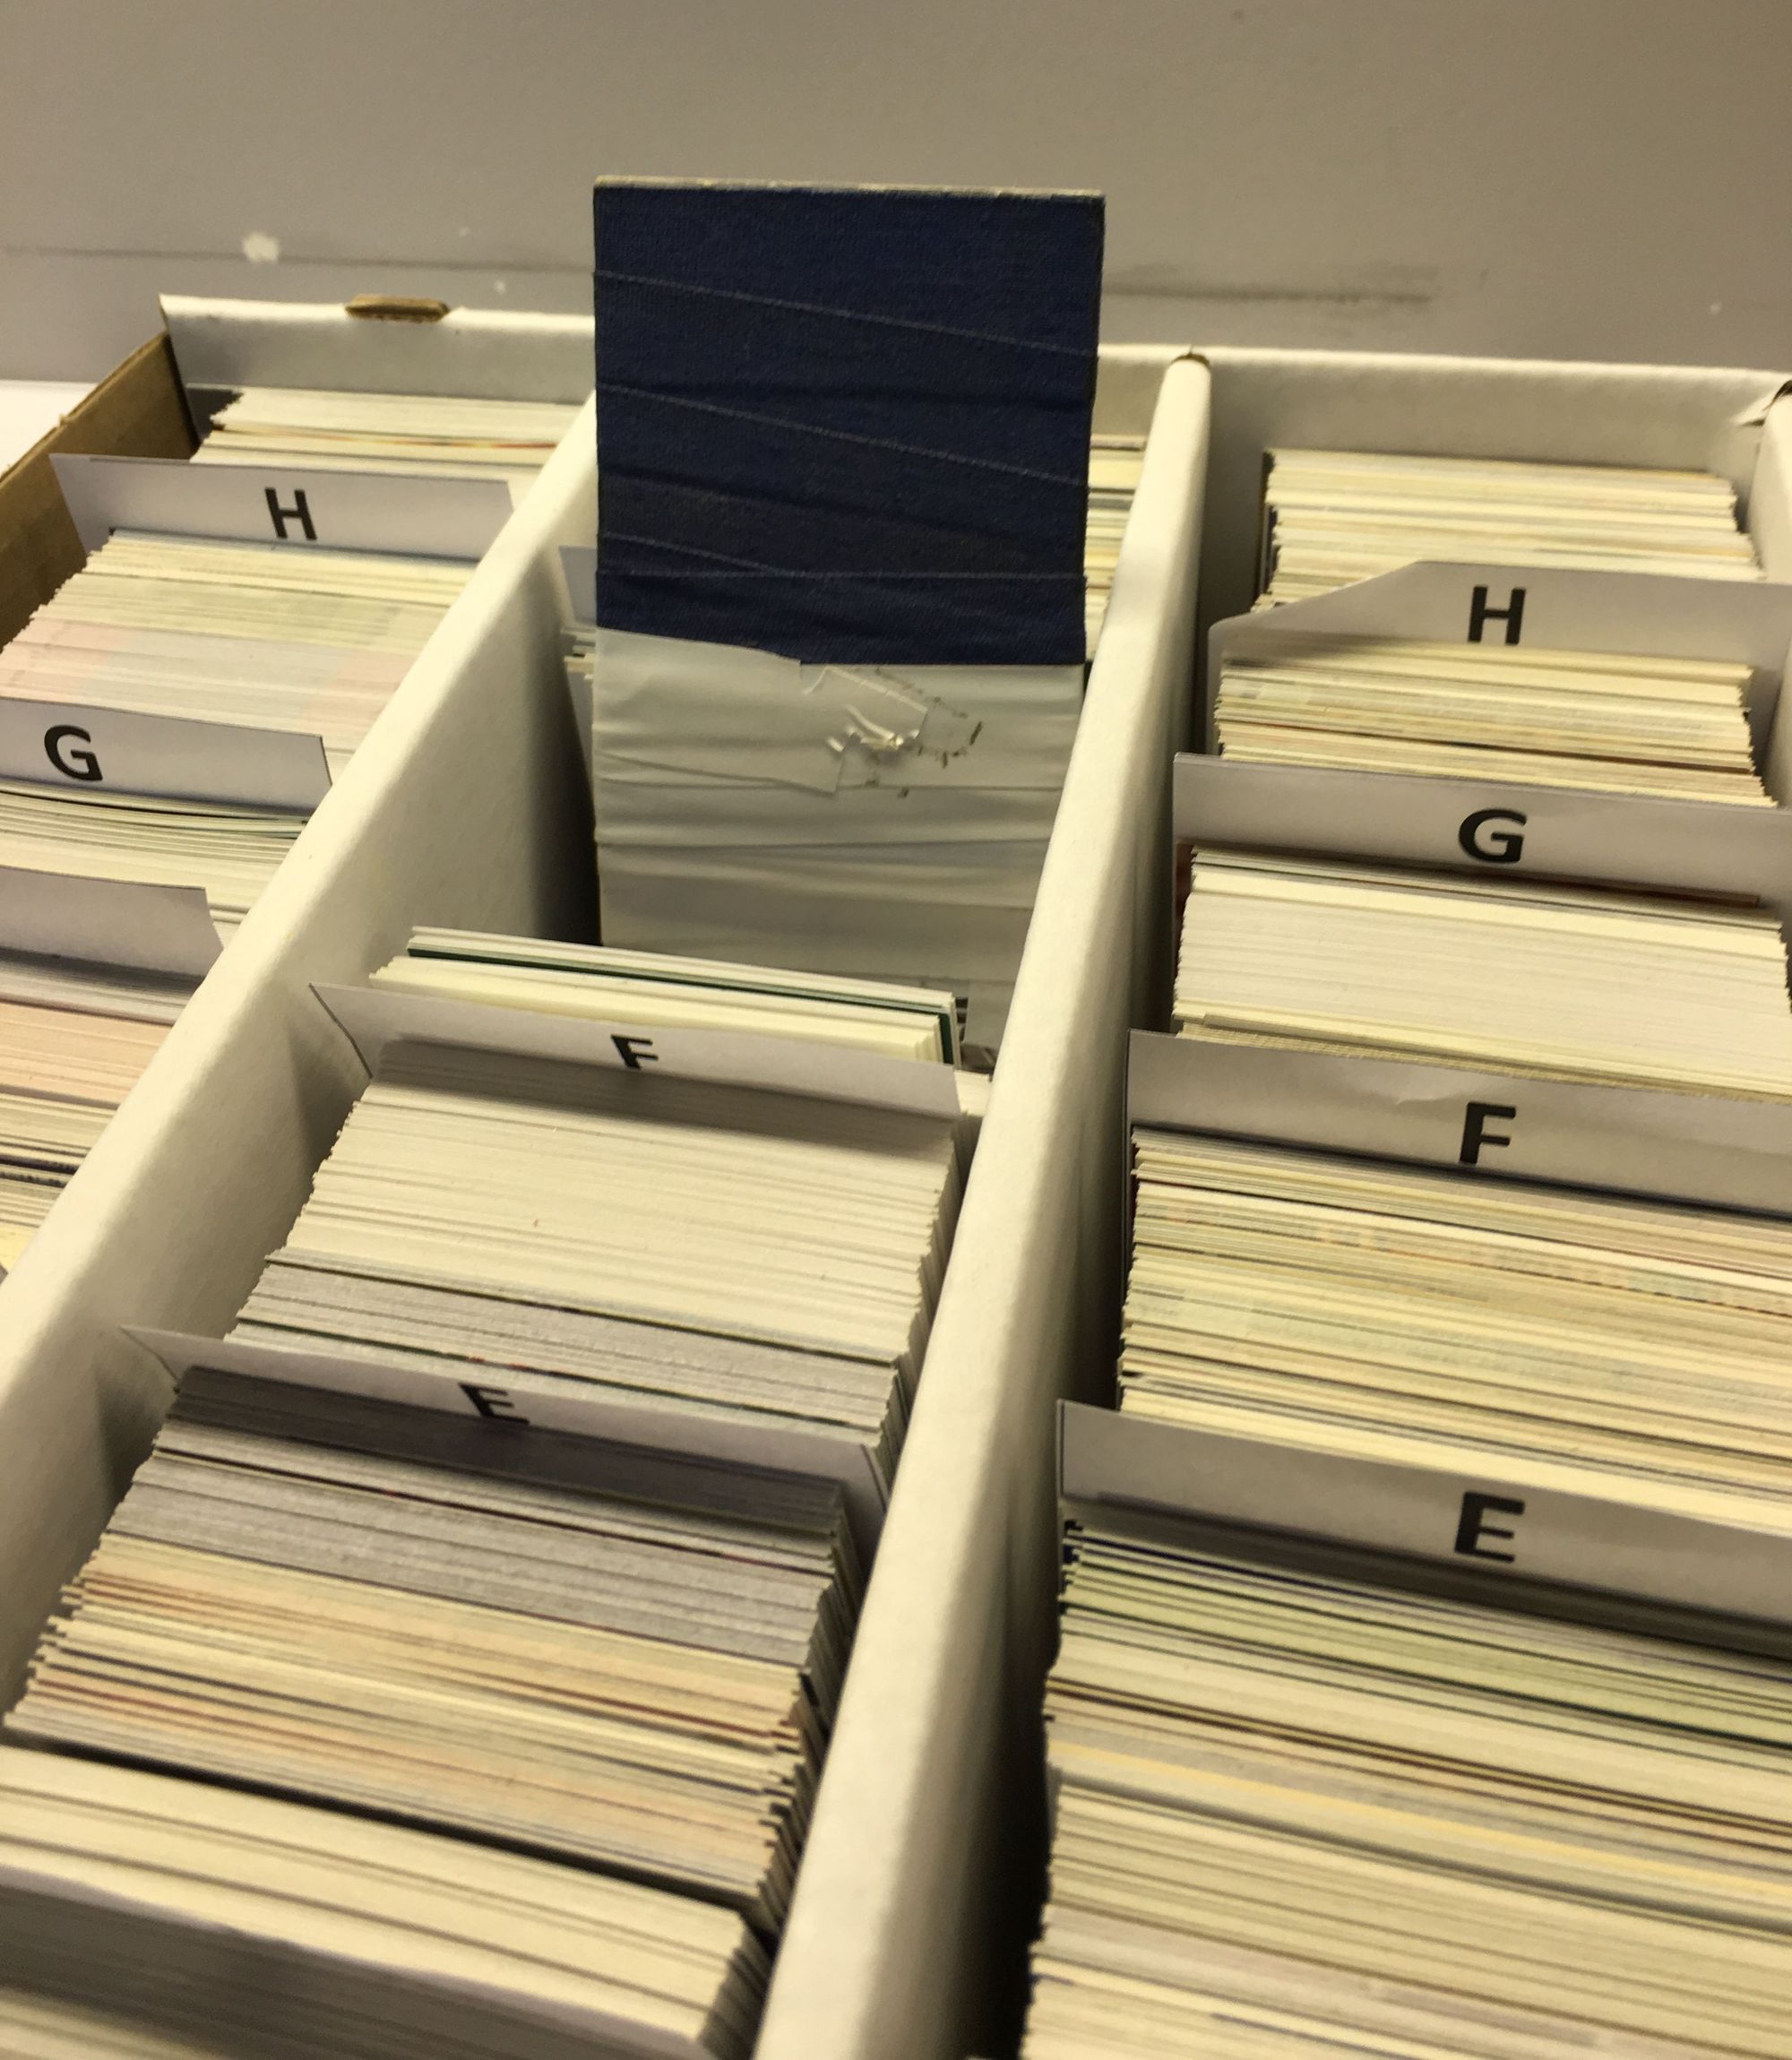
When you get the card you can tell the software that you have it by clicking on the check button.

Now you can put the card on the shipping plates. The number where it goes, is displayed on the top right corner. If you don't know where to get that super cool shipping plate, you can get it here: Shipping plates
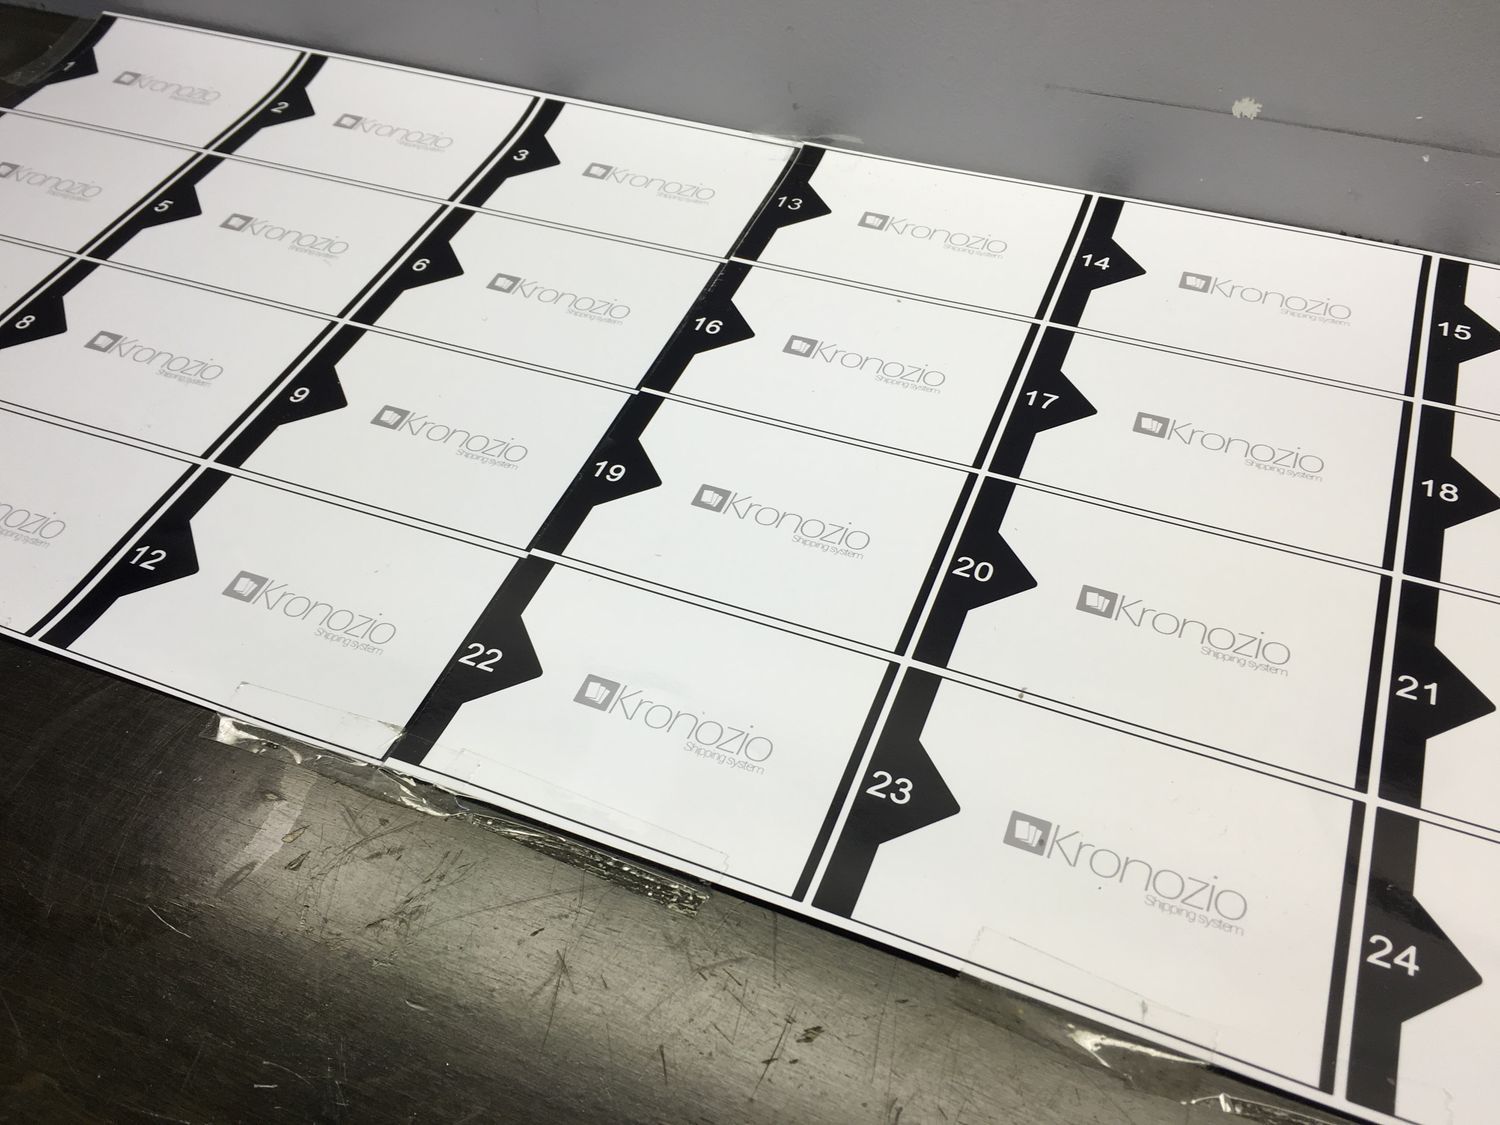
You can continue until all your cards have been pulled out of the boxes and ready to ship. Penny sleeves, toploader, team bags, etc.
Save a lot of time with a thermal printer for your address
If, for example for you only send one envelope with three cards so it's not too time consuming writing by hand your clients address and name right? But what if you have 5, 10, 25, 50 envelopes? With Kronocard you will sell a lot more cards. It takes from 15 minutes to one hour just to write names and addresses on 50 envelopes by hand. What we came up with, is the fastest and most cost-effective way of doing it. Until we started that project, I we didn't really know or care about thermal printers. But after selling lots of cards you’ll see that this might become your new best friend! There are many brands and models of thermal printers but the one we are presenting today is the has a good quality-price and low cost for the paper. We are using the Brother QL-700 and currently is the only one supported in Kronocard.
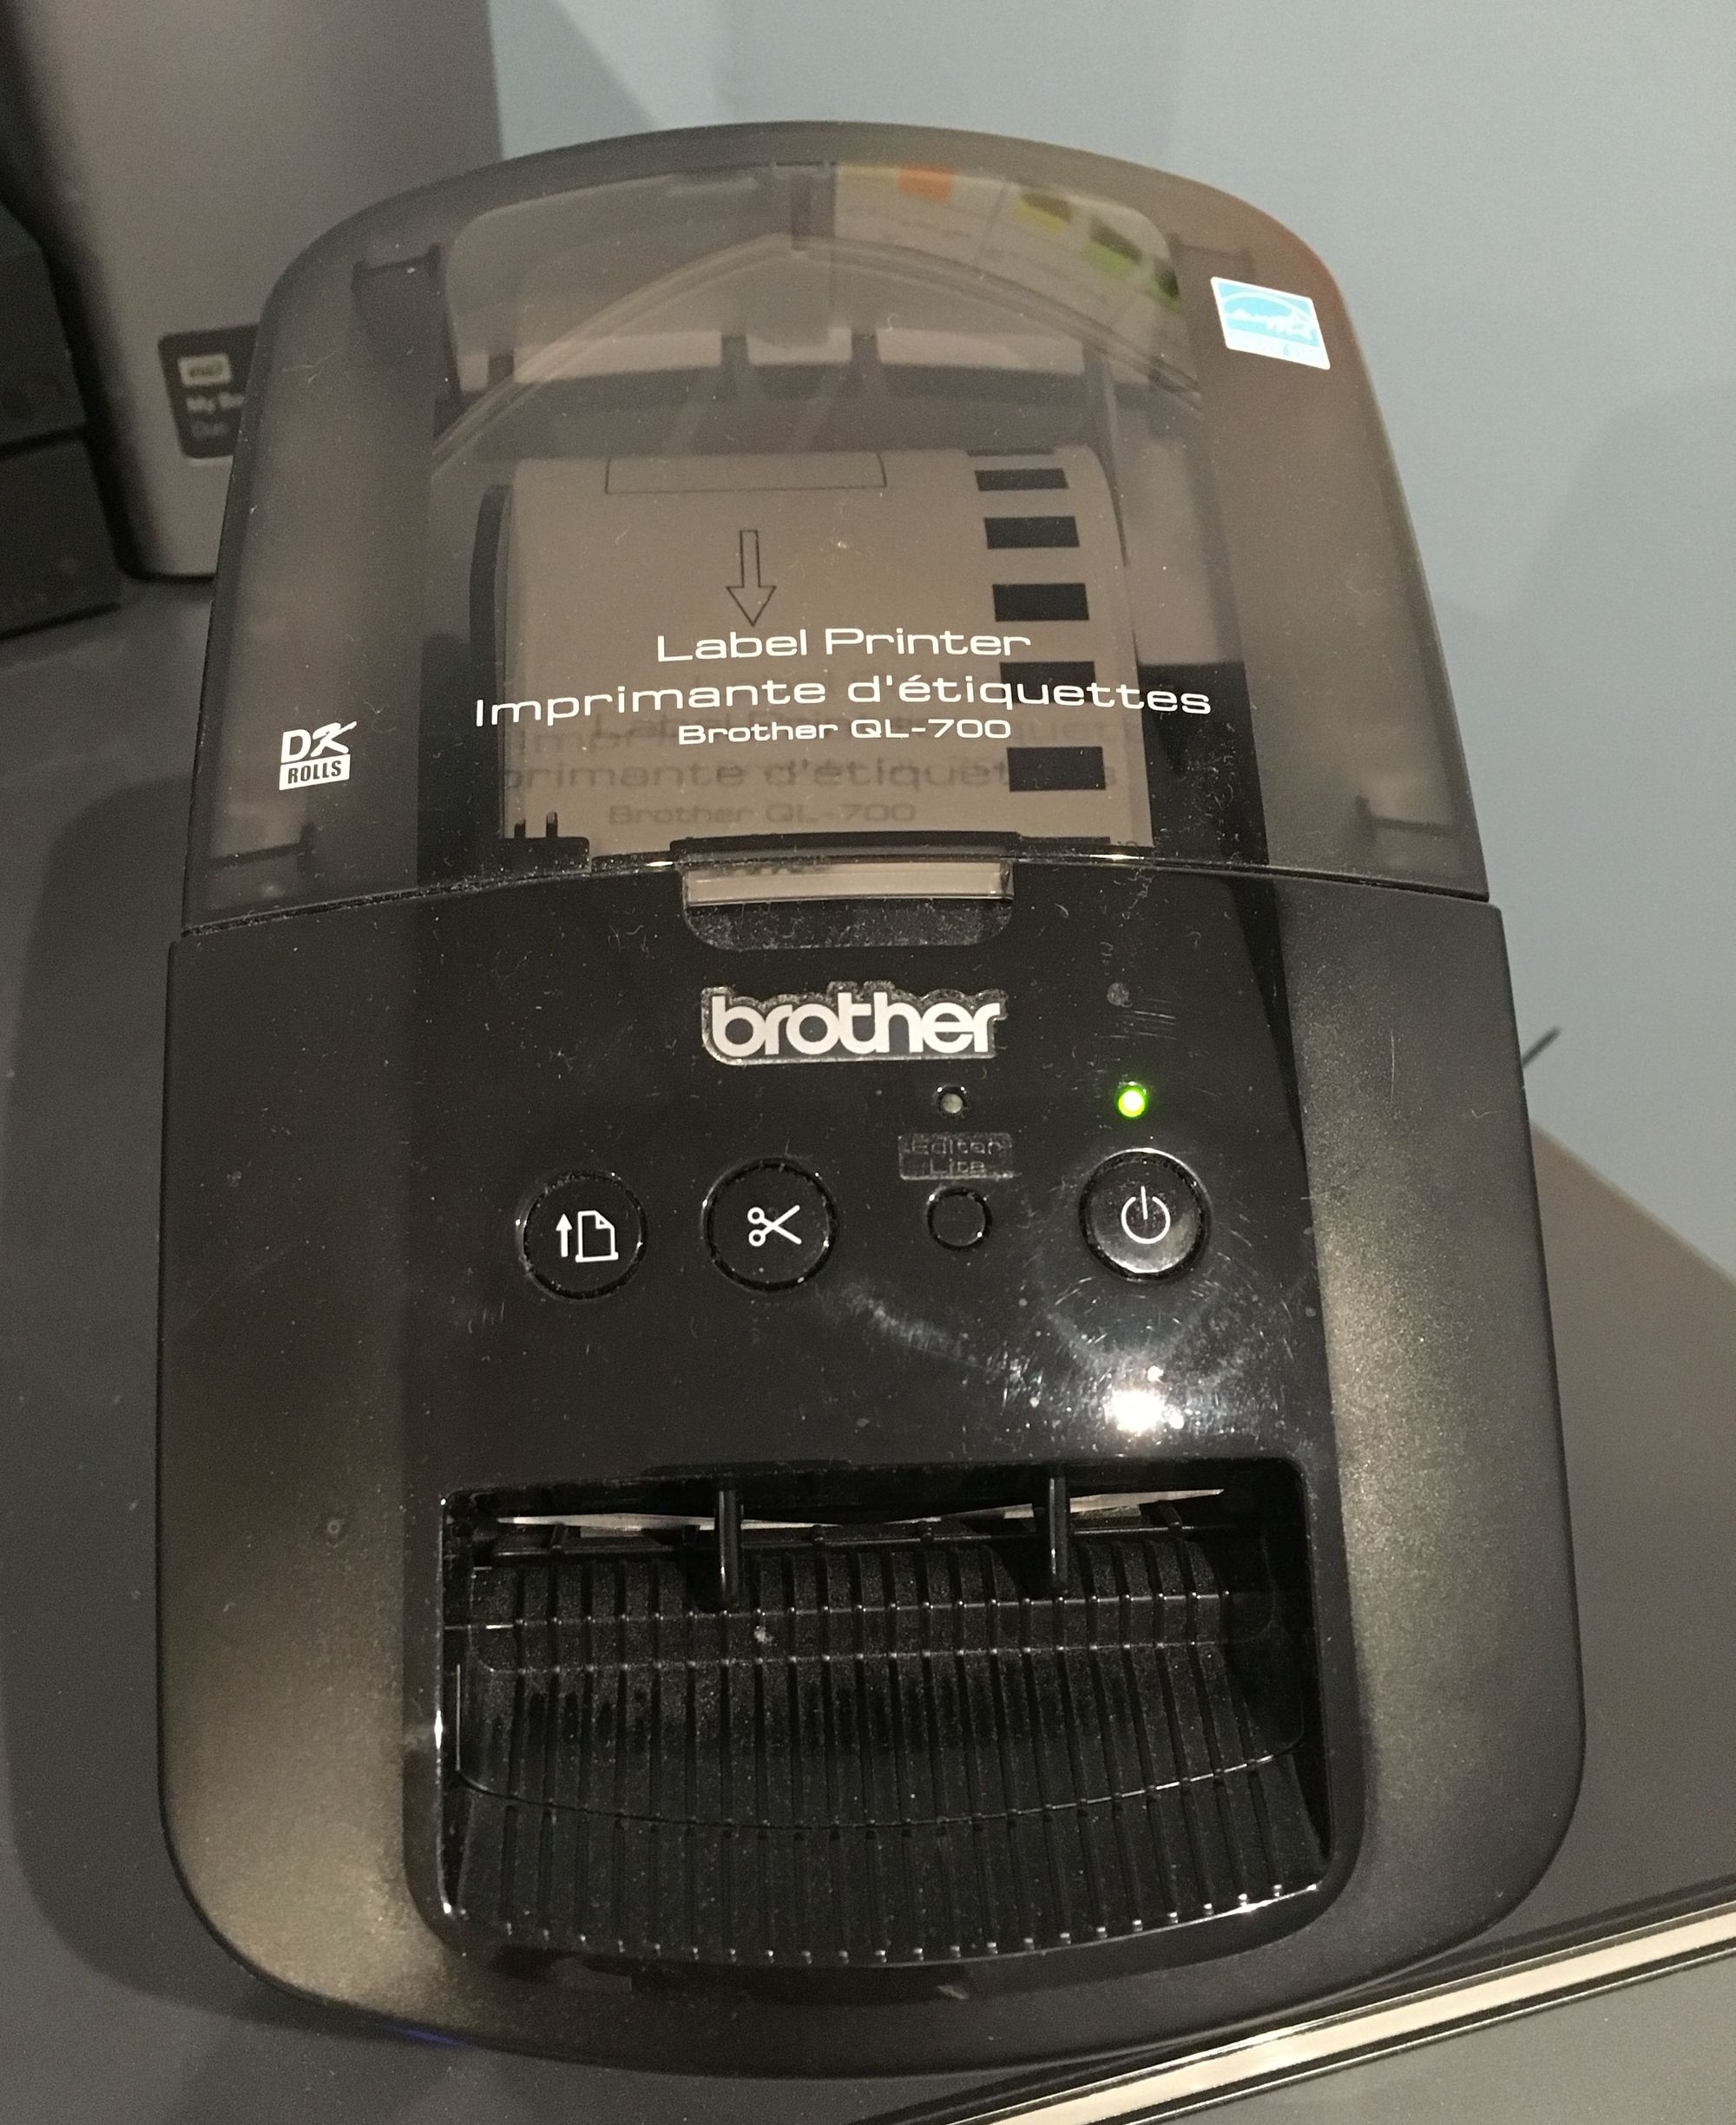
No, this is not a baby printer it's a lot more than that. Thermal printing is a digital printing process which produces a printed image or text by selectively heating coated thermal paper when the paper passes over the thermal print head. The coating turns black in the areas where it is heated, producing an image or text. The little printer uses a special paper that gives you an ink-less printer! You have no ink or toner to buy! Just the paper roll that you can get for a very good price, when you search a little. When we started we were very excited about this time saving, hassle-free printer and started to buy pre-cut address label paper, stamp-size paper, return address size paper, etc. Stop! We were constantly changing the roll in the printer and it was complicated to manage all those sizes. We finally optimized everything and found out how we can do everything with only one paper type, the DK-2205 paper.
So with that paper you can print; prepaid stamps, address label and return address (with final optimization there is no need for the return address).
Applying for an e-commerce account at Canada Post
As we said, shipping one envelope is not too complicated. When it's time to put the stamp: you have to weigh the envelope go look at Canada Post and put the right stamp amount. But you know what happens most of the time right? Your envelope is 130g so you need a 2.95$ stamp but whait! You only have 1.80$ stamps so you need to go to the post office and get a 1.15$ stamp, but you don’t feel like going out so you decide to put 2x 1.80$ stamps for a total of 3.60$. That's 0.65$ more than needed resulting in you losing money. You can now fix this by using not only one fit all stamps but at a lower rate! THE PREPAID STAMPS! In this case it would have cost you 2.68$ and not 3.60$ (0.92$ in your pocket, 74% more).
This first step is pretty straight forward: just go on the Canada Post page sign-up form page
Now on that page you have to fill your information. There are 3 pages but the last one is optional. If you filled everything correctly and have read the terms and conditions, you will now be automatically logged on Post Canada website with your new e-commerce account.
At the top of the page you have access to your profile by clicking on your account name at the top.
In your profile page you get your unique customer number at Canada Post.

That magic number is what you will need to prepare for your prepaid stamp. What is a pre-paid stamp?
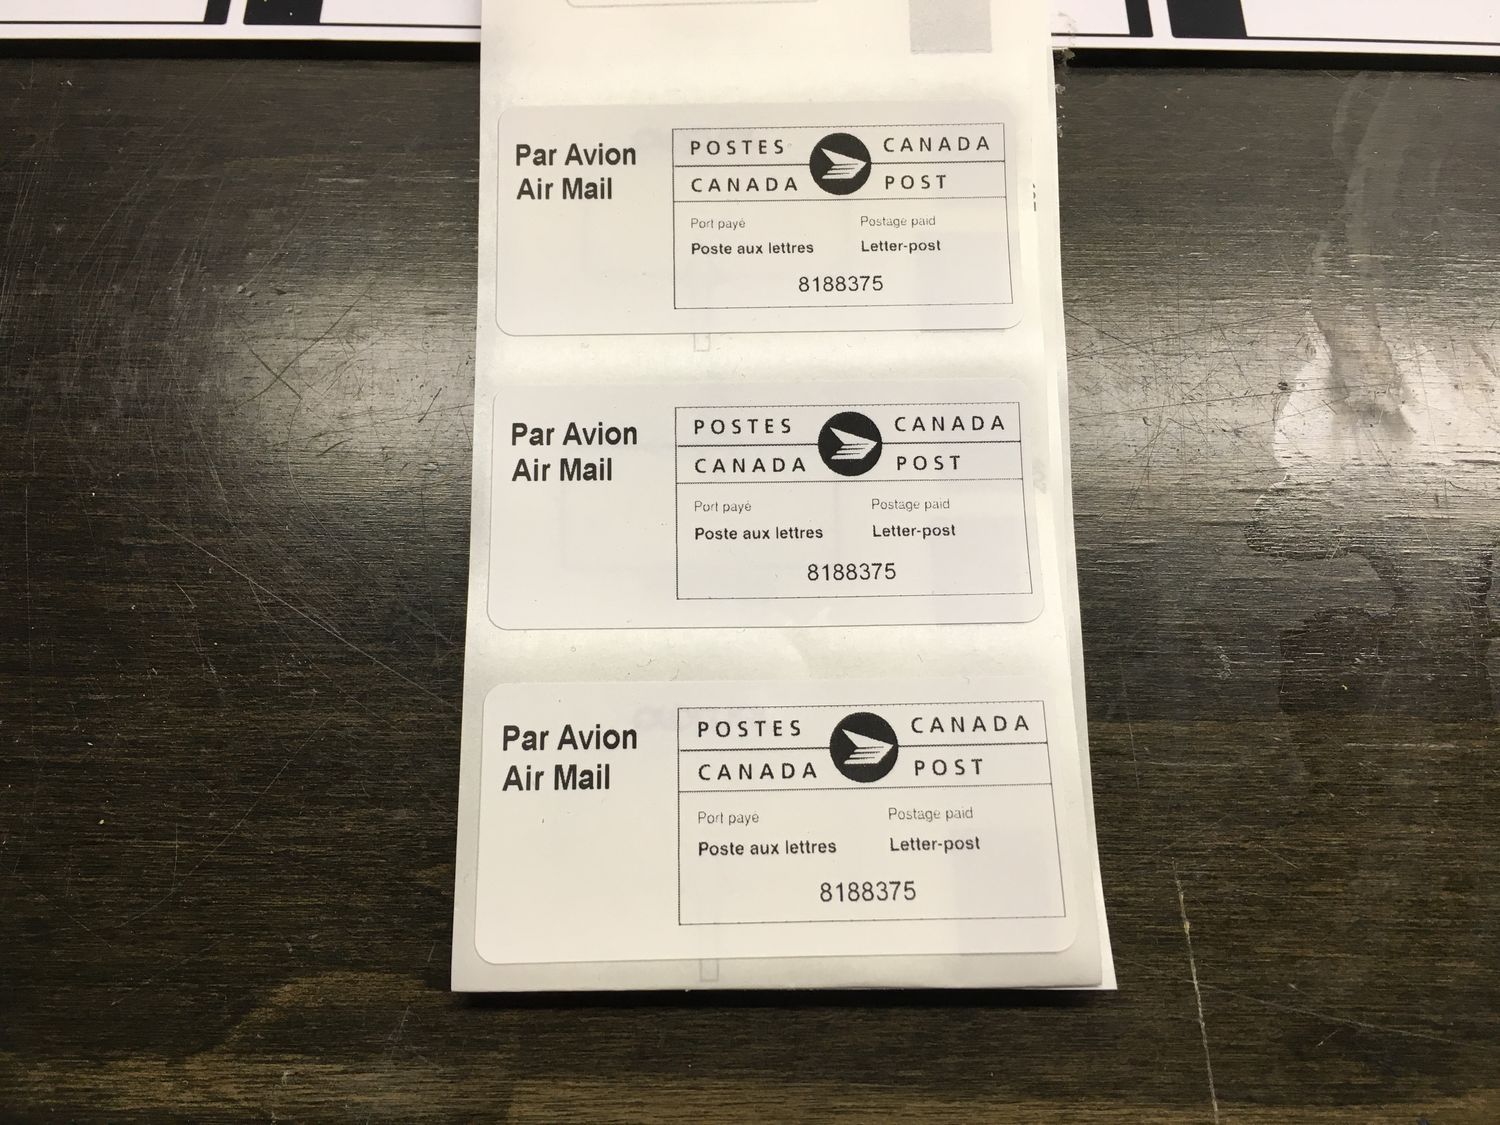
This is what many think that it's reserved for big companies that mails huge quantities of letters. WRONG! This can also be used by small businesses and home businesses. It's a convenient way of shipping with the help of Canada Post. Ok so how do I prepare that prepaid stamps (also known as vignette) for my business?
You need to have some graphic skills, be familiar with DPI and have access to a graphic application like Photoshop or Gimp.
If this is your case, this is the information you’ll needed.
Rules are strict and must be followed precisely if you don’t want to get in trouble with Canada Post.
Then, you can get the stamp template here
Or if you are interested you can ask Kronozio to do it for you.
- You need to have your account ready with your information filled correctly.
- You need to provide us your unique customer ID found in your online profile.
- Send and email to support@kronozio.com with your name, your Kronozio store name and your Canada Post ID.
When we're done we will send you your images containing your Canadian stamps and your USA/International stamp.
Now that you have your prepaid stamps with your own number on it you will need to decide how you will use it.
Stickers vs self-inking stamps
You can use a thermal printer like the Brother QL-700.
This is our template for the stamps with paper DK-2205
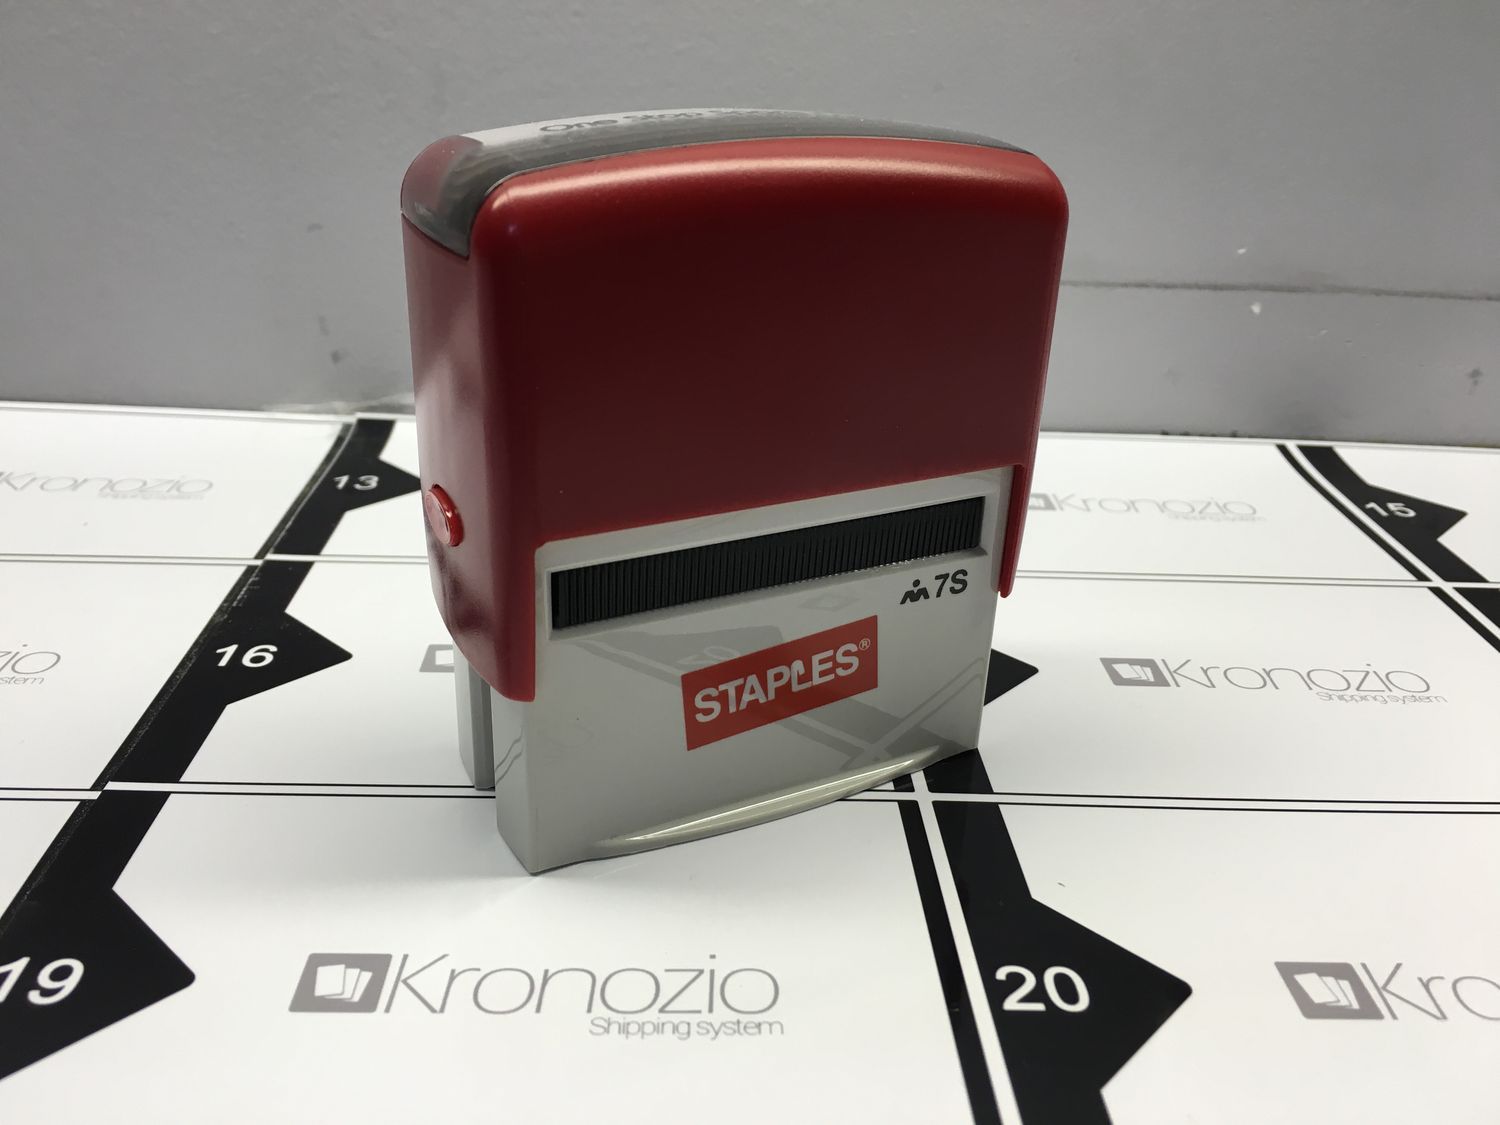
Another tip to save money: using thermal printed stamps for international and USA shipping and we ask our local “Staple” store to create us a self-inking Canadian stamp with the correct size.
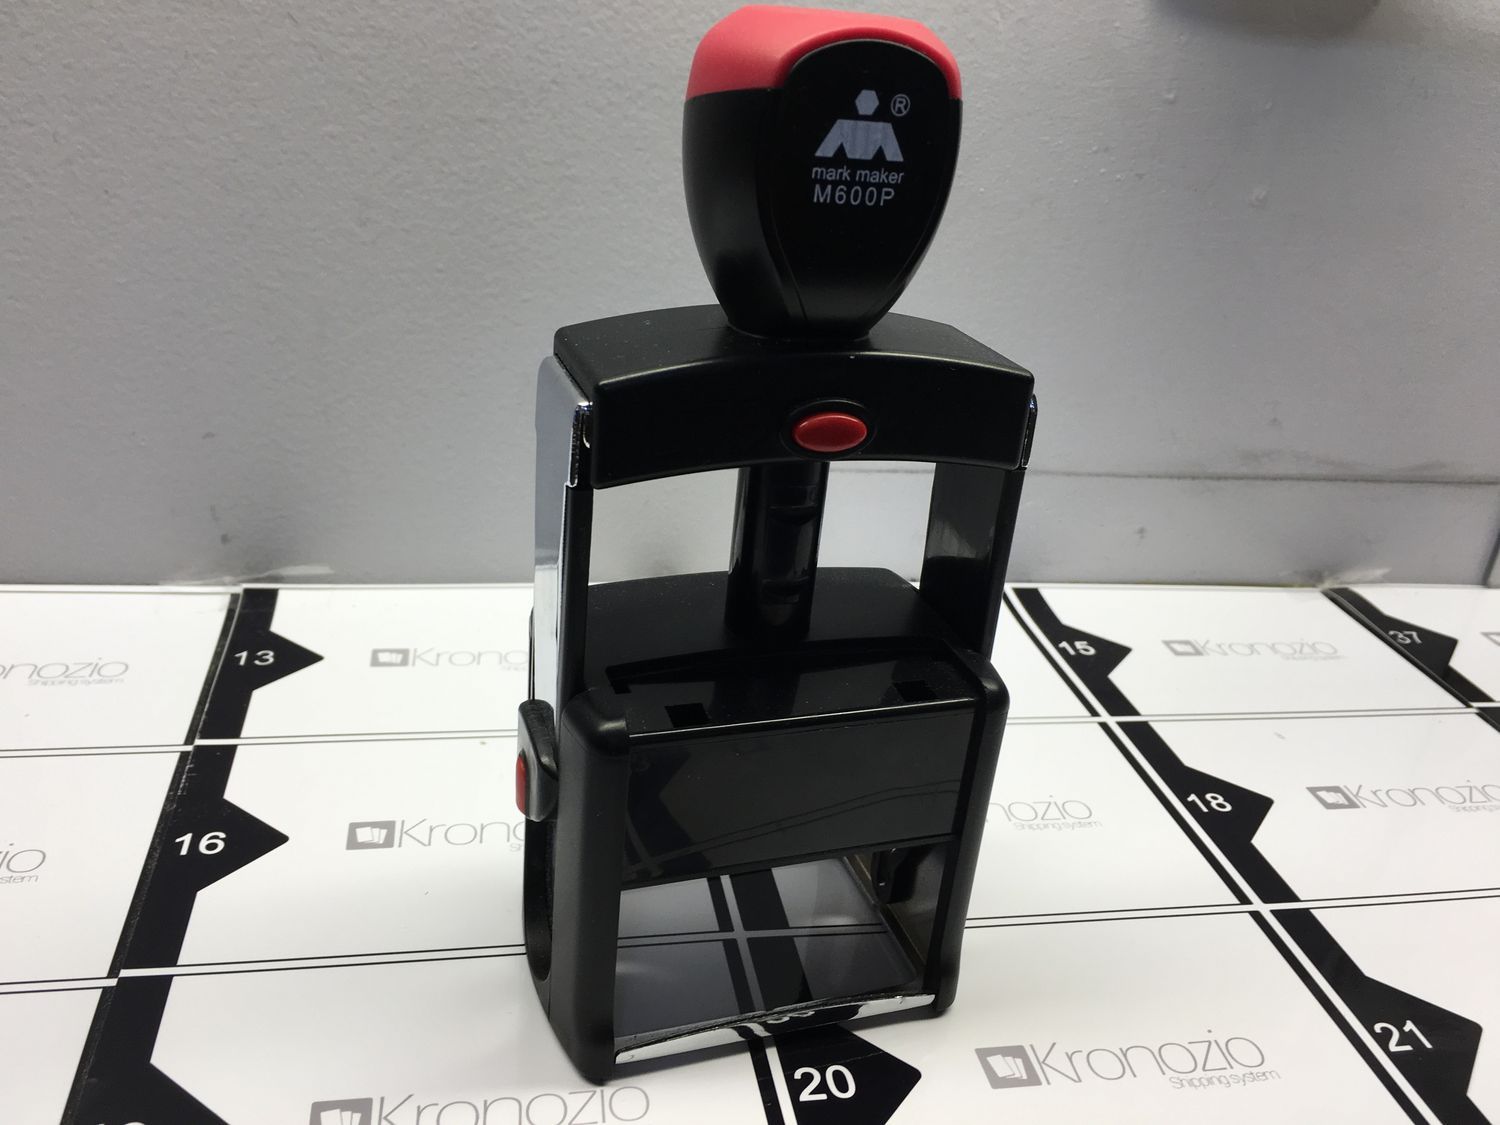
The only thing missing in order to be fully optimized is the return address that you put on the top left corner of your envelope. If you’re not in a rush, often Staples has big rebates on cheap standard self-inking stamps that you can do yourself online. Sometime it's around 15$-20$
How to pay and ship with prepaid stamps
You got all the information to setup your prepaid stamps, the only step missing now is how to use it.
Your account on Canada Post is created, all your envelopes are correctly identified: Canadian envelopes with Canadian stamps, USA and international envelopes with plane stamps.
Now you need to separate your envelopes like this:
Canada
0-100g / 100-200g / 200g-300g (Over that there is a good chance that it won't fit in an envelope :)
USA
0-100g / 100-200g / 200g-300g
International
0-100g / 100-200g / 200g-300g
To get all the rates you can look here.
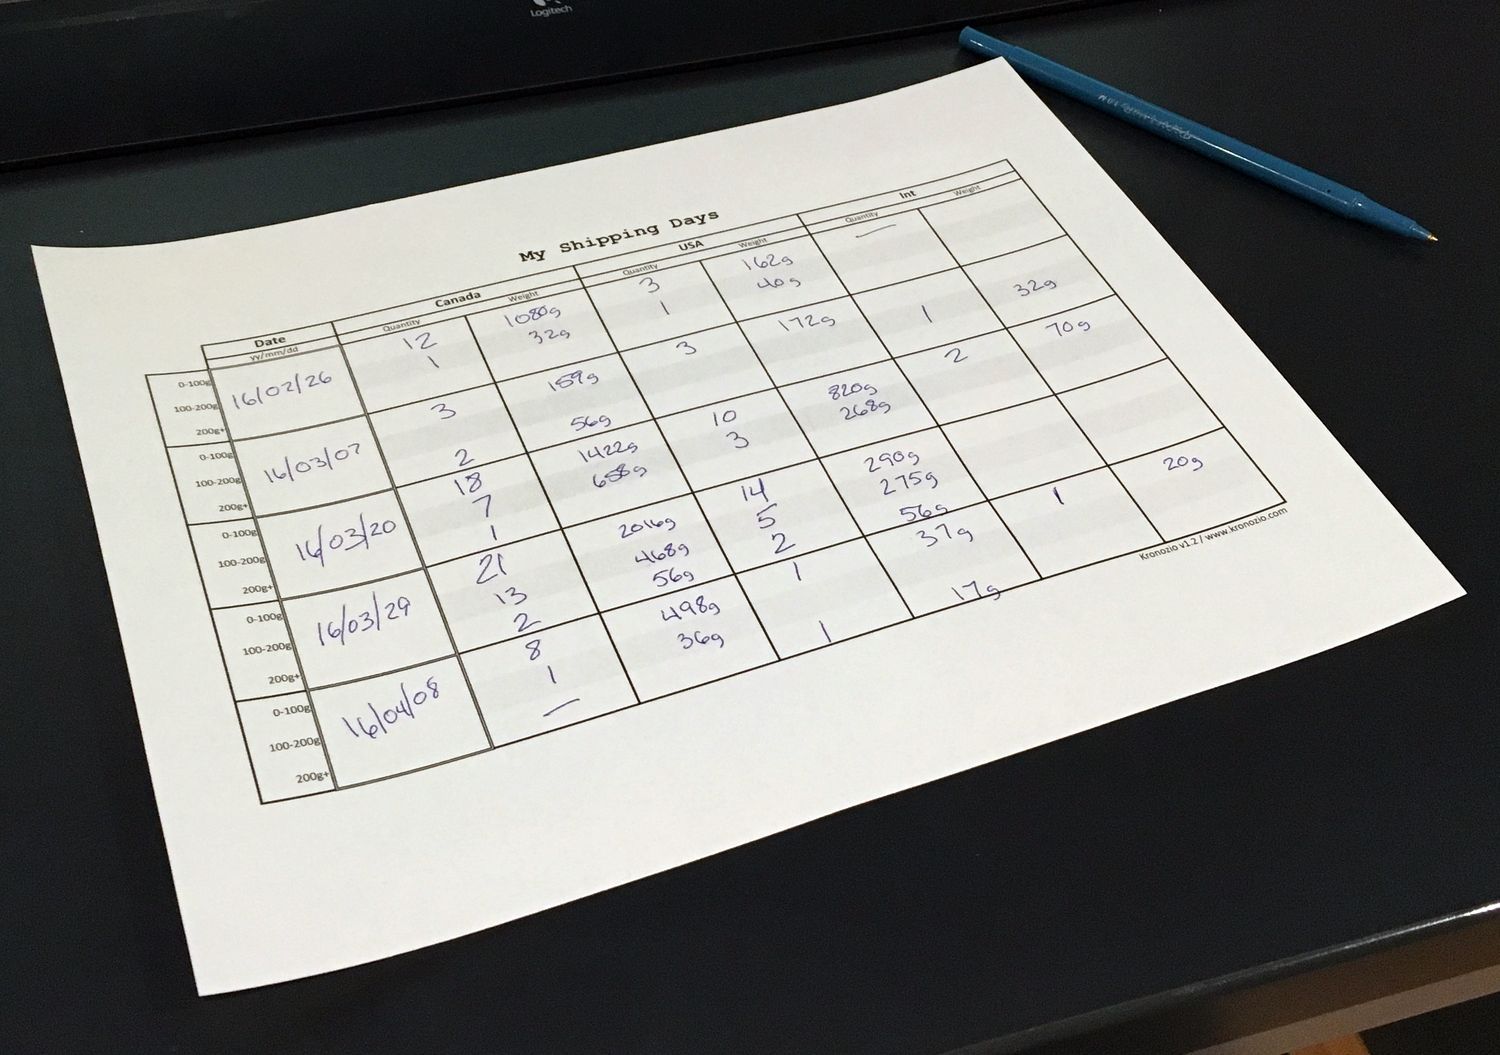
When your cards are grouped you need to weigh the total for each group, because you need to indicate per group the total quantity of envelopes and the average weight.
So if you have 8 envelops that weigh a total 296g you will tell Canada Post that you have 8 envelopes that weight 37g.
To help you, here’s a shipping sheet that you can print.
It will look like this.
Now all the required information is completed and it's time to go get your credit card.
Bookmark this page you will need it each time you have to ship. By the way, this is not only good for shipping cards but also for all your business letters.
Go here: Online Business Center
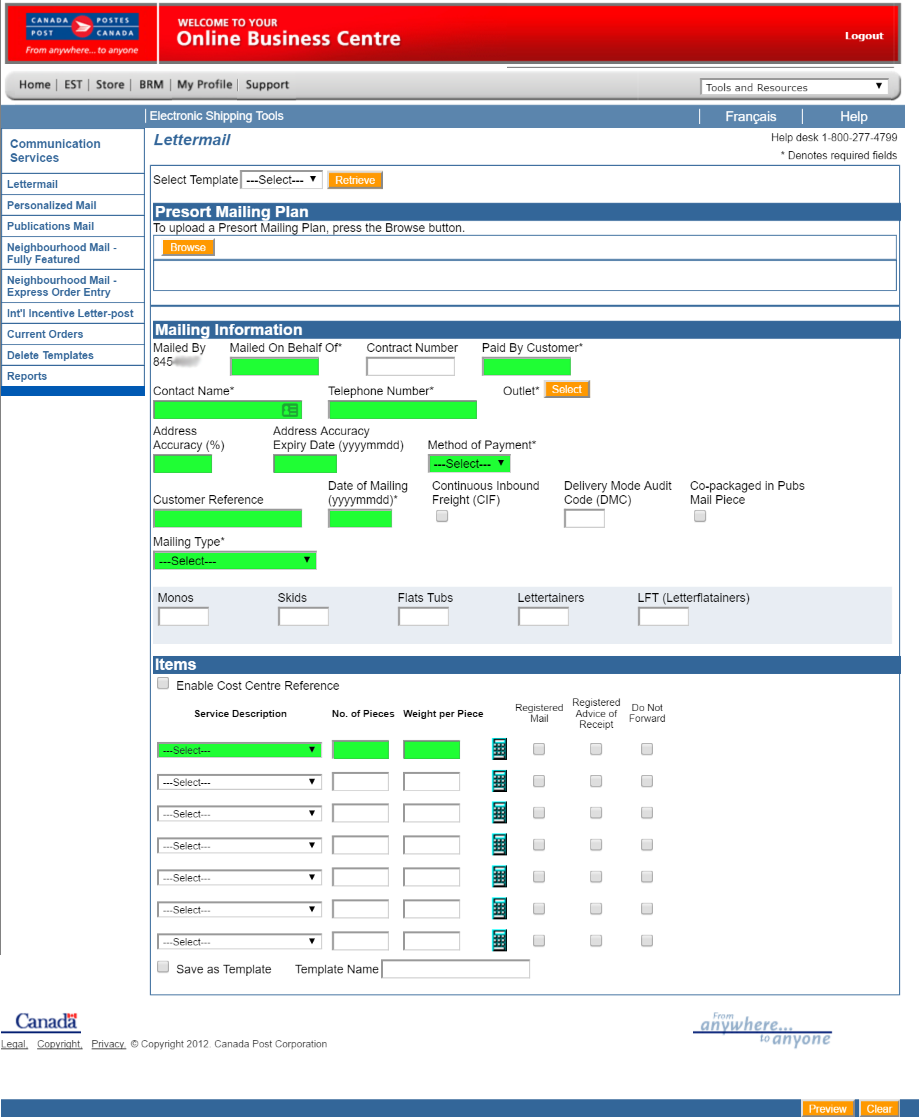
This is what you’ll need to fill each time you want to ship.
You only need to fill what is in green.
Mailed On Behalf Of: This is your Canada Post ID number
Paid By Customer: This is your Canada Post ID number
Contact Name: Write your real name
Telephone Number: Telephone number
Address Accuracy: Write 95%
Address Accuracy Expiry Date: Put a date in future like 19YY1231
Method of Payment: Credit Card then click on credit card information under it to fill your credit card information.
Customer Reference: Write your store name
Date of Mailing: The date when you will go mail the envelopes in the mailbox Mailing Type: Full Mailing - One Deposit
Now the last part is the envelopes details.
For each type of shipping (Can, US, Int) and each group of weight you need to fill one line for each.
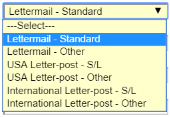
Letter mail - Standard: This is for regular white envelopes for Canada
Letter mail - Other: This is for oversized envelops like bubble mailer #00 #000 that we use to ship to Canada
USA Letter-Post S/L: This is for regular white envelopes for USA
USA Letter mail - Other: This is for oversized envelopes like bubble mailer #00 #000 that we use to ship to USA
International Letter-Post S/L: This is for regular white envelopes for international
International Letter mail - Other: This is for oversized envelopes like bubble mailer #00 #000 that we use to ship internationally.
So for each type/weight groups you need to specify the number of envelopes and the average weight per envelope.
The average is total weight divided by the quantity of envelopes.
When all your information has been filled correctly, you can click on the Preview button at the bottom of the page for a final revision. In those pages it will show you all the cost details. It's time to check to make sure there’s no mistake. If everything's good proceed with the transaction by clicking on the “Transmit to CPC” button in the top left corner.

You’re almost done.
Last piece of information can be a trial and error depending on: where you live, the Canada Post employees and a bit of luck. When you have less than 20 envelopes, you can try to put it directly in a mailbox. It's not sure if it will work from your location, but near Montreal we have been doing this for the last 3 years without any issues. For larger quantities you can print 3 copies of the transaction sheet, sign it and go on this page to find the nearest deposit location for larger quantities.
In the drop-down list select LETTERPOST - USA so that you know that the location you will get supports USA mailing (most of the time they always support international also)
You’re done! It may seem like a fastidious task but it’s so worth it! It will save you time and money!
